The CS2 Wallhack Command has become a popular tool among gamers looking to gain a deeper understanding of their gameplay environment. Whether you’re a professional player or simply curious about its functionality, this guide will walk you through everything you need to know. From enabling the command to exploring its practical applications and addressing potential ethical concerns, we’ll cover it all. Understanding the ins and outs of the CS2 Wallhack Command can enhance your gameplay experience while helping you navigate common challenges and risks associated with its use. Let’s dive into this comprehensive guide!
Understanding the CS2 Wallhack Command
The CS2 Wallhack Command is a debugging tool available in Counter-Strike 2 that enables players to see through walls and objects, providing a unique perspective of the game environment. While primarily designed for developers to test map design, visibility, and line-of-sight mechanics, players can also use this command creatively for training and strategizing.
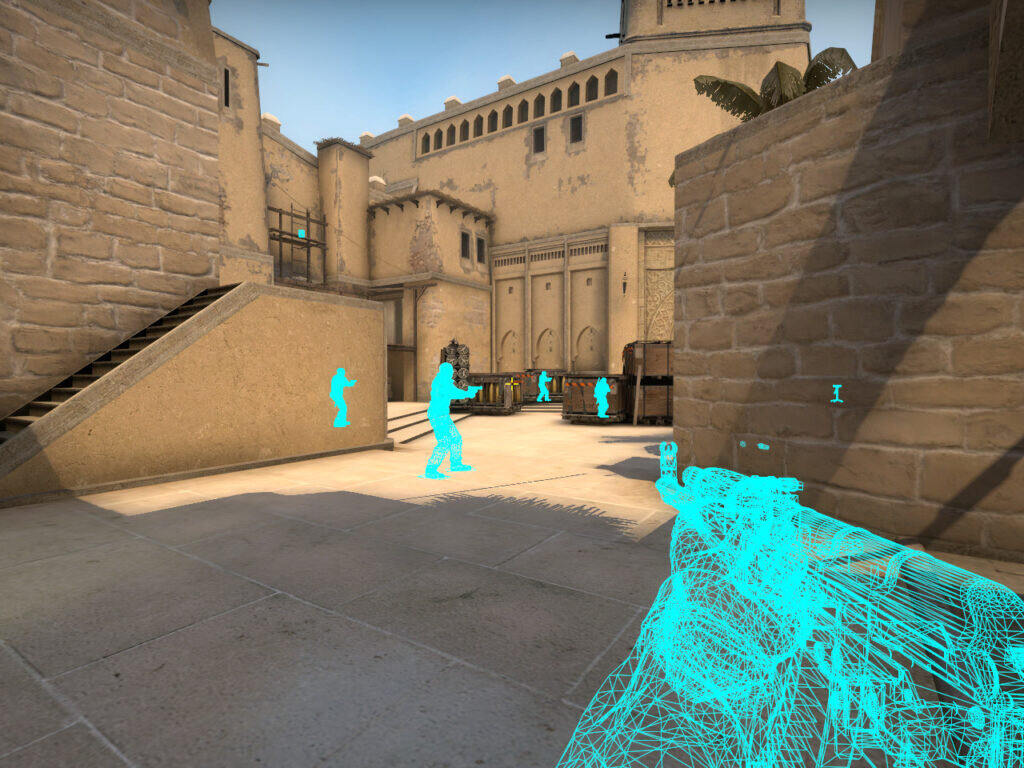
This command works by rendering player models and certain items visible through solid objects, allowing users to analyze positions and movements effectively. It can help in learning advanced tactics, understanding choke points, and improving game knowledge.
Some key points about the CS2 Wallhack Command:
- Purpose: Originally intended for development and testing tools.
- Access: Requires enabling developer mode in CS2.
- Use Cases: Suitable for private servers, practice modes, or specific game scenarios.
Although it offers benefits for learning gameplay mechanics, misuse of the command in competitive situations or live servers is unethical and may result in penalties. Understanding the CS2 Wallhack Command is essential for responsible usage and improving overall gameplay tactics.
How to Enable the Wallhack Command in CS2
Enabling the CS2 Wallhack Command can be straightforward, but it’s essential to follow the correct steps to avoid any complications. This command is typically used in a private or practice setting to enhance awareness and improve gameplay understanding. Here’s how to activate it:
- Open the Developer Console:
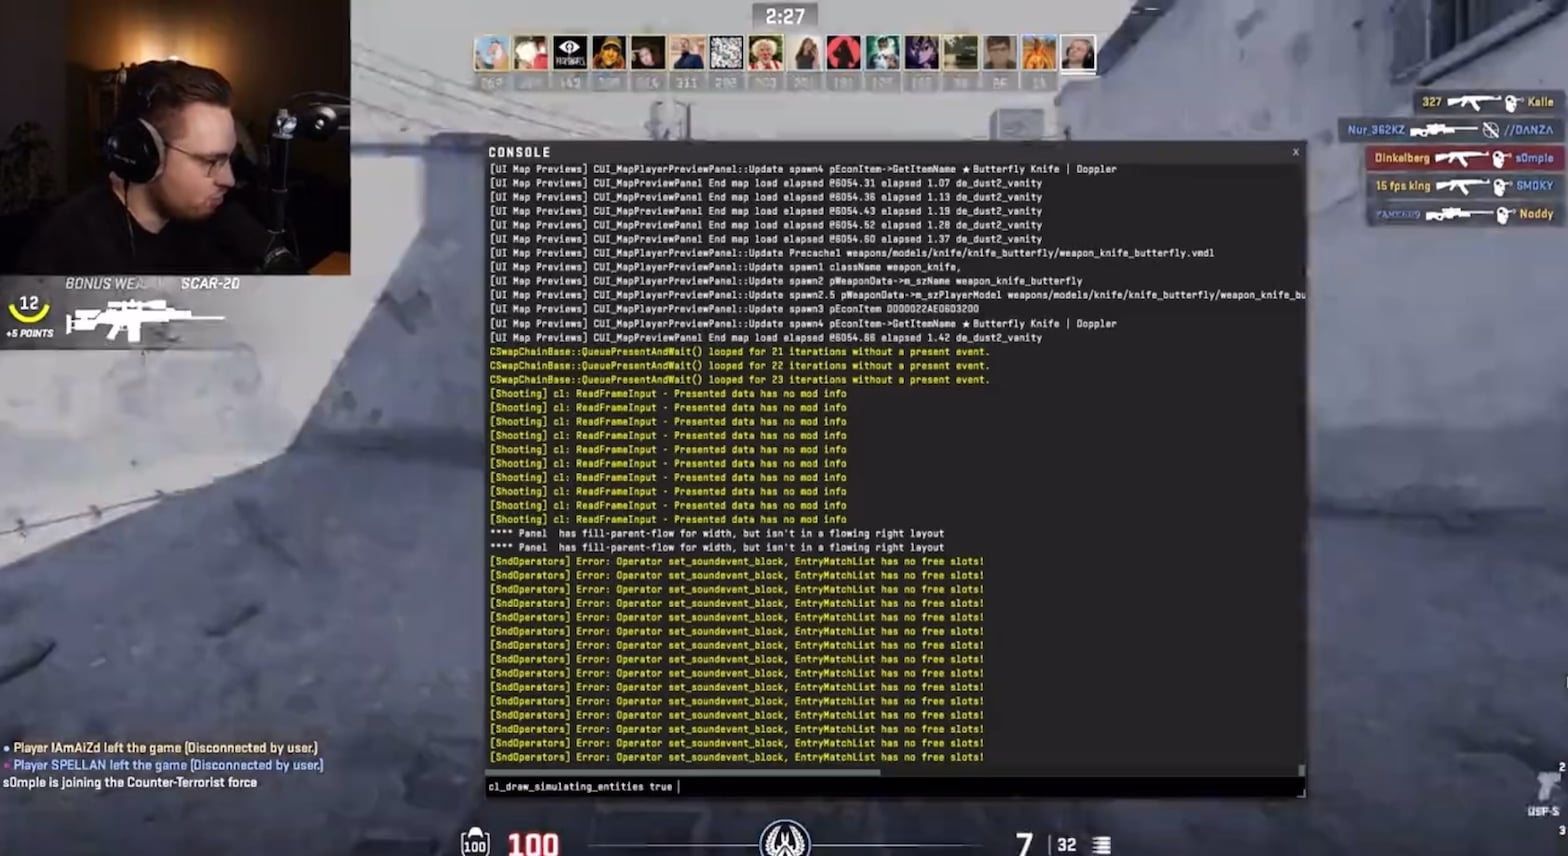
First, ensure the developer console is enabled in your game settings. Navigate to “Settings,” click on “Game,” and toggle the console option to “On.” - Access the Console:
Press the designated console key () to bring up the input window.~ - Enter the Command:
Type in the console and press “Enter.” This enables cheat commands for the session. Then, input the wallhack command and hit “Enter” again.sv_cheats 1r_drawothermodels 2 - Verification:
Look around the map. If the command is active, player models will appear outlined and visible through walls.
Remember, the CS2 Wallhack Command should only be used responsibly and in appropriate game modes like private matches. Misuse in competitive settings can lead to consequences, including bans.
Practical Applications of the Wallhack Command
The CS2 Wallhack Command can serve a variety of practical purposes, particularly in non-competitive and training scenarios. It’s not merely a cheat but rather a tool that, when used ethically, can improve gameplay understanding and skills. Here are some practical ways to apply the command effectively:
- Map Analysis: Understand the layout of maps by visualizing enemy paths and potential hiding spots. This insight helps refine strategies and positioning during matches.
- Practice Wall Bangs: Use the command to pinpoint enemy positions behind walls and practice your wall bang shots accurately. This is a vital skill for taking down hidden opponents.
- Team Coordination Training: Enhance teamwork by studying common choke points, enemy movement, and effective grenade spots.
- Demo Review: The command can help coaches or players review game demos to analyze both ally and enemy movements in detail.
While the CS 2 Wallhack Command has legitimate uses, remember that it is intended for learning and improvement rather than gaining an unfair advantage in competitive settings. Always use it responsibly to enhance your skills!
Potential Risks and Ethical Considerations
Using the CS2 Wallhack Command can come with significant risks and ethical dilemmas. While it can be a useful tool for practice or learning the game’s mechanics, its misuse can harm gameplay integrity and result in consequences.
Risks:
- Ban Risks: Using the command in competitive or public matches can breach game policies, potentially leading to account suspension or permanent ban.
- False Accusations: Even in private or training sessions, repeated use might raise suspicions among other players, harming your reputation.
Ethical Considerations:
- Fair Play: Gaming should be competitive yet fair. Abusing the CS 2 Wallhack Command in unintended scenarios directly violates the essence of fair competition.
- Community Trust: The integrity of the gaming community relies on honesty. Misusing such commands deteriorates trust among players and the wider community.
It’s important to understand when and where you use the CS2 Wallhack Command. Avoid leveraging it to gain unfair advantages and always respect the game’s guidelines. Using it responsibly ensures that it remains a beneficial tool without crossing ethical boundaries.
Troubleshooting Common Issues with the Command
When using the CS2 Wallhack Command, you might encounter a few problems that can hamper your gameplay experience. Fortunately, most of these issues are straightforward to resolve. Below are some common problems and their potential fixes:
- Command Not Working: Ensure that developer mode is enabled in CS2. Without enabling this setting, the command won’t function as expected. Use in the game’s launch options to enable the developer console.
-console - Error Messages: If an error appears, confirm you’ve entered the command syntax correctly. Typos or additional spaces can prevent the command from executing.
- Command Disabled: Some servers or matches may restrict certain commands for fairness. Switching to a local match or setting up a private server can help bypass these restrictions.
- Graphics Glitches: If enabling the wallhack causes visual distortions, try updating your graphics drivers or revisiting the game’s video settings.
Addressing these issues promptly ensures you can use the CS2 Wallhack Command effectively. Always double-check your inputs and game settings for smooth operation.
Tips for Using the Wallhack Command Effectively
To make the most out of the CS2 Wallhack Command, it’s essential to use it thoughtfully and efficiently. This command can be a powerful tool for practice and strategy refinement but must be utilized with proper techniques.
Here are some key tips for using the CS2 Wallhack Command effectively:
- Use It for Practice, Not Games: The command is best used in custom games or practice sessions to study map layouts and enemy positioning. Avoid using it in competitive matches, as it can violate fair play policies.
- Pair It with Other Commands: Combine the wallhack with commands like “noclip” or “sv_infinite_ammo” to fully explore maps and angles without restrictions.
- Study Opponent Patterns: Enable the wallhack to observe how enemies move and take cover during various situations. This can improve your decision-making and understand gameplay mechanics better.
- Disable When Done: Always remember to turn off the command after practice to ensure normal gameplay.
By following these tips, you can leverage the CS2 Wallhack Command as an effective learning and practice tool while maintaining integrity within the game.
Frequently Asked Questions
What is the CS2 wallhack command?
The CS2 wallhack command refers to a console command in Counter-Strike 2 (CS2) that allows players to see through walls. It is primarily used in private matches or practice modes to analyze map layouts, understand enemy positions, and practice strategies. This command is not permitted in competitive or public gameplay and is intended solely for training purposes.
How do I activate the wallhack command in CS2?
To activate the wallhack command in CS2, you need to enable the developer console through the game settings. Once enabled, press the tilde key (~) to open the console and enter cheat commands like ‘sv_cheats 1’ to enable cheats. Then, use the appropriate command, such as ‘r_drawothermodels 2’, to see through walls. Remember, this only works in a private server where you have admin rights.
Is using the wallhack command cheating in CS2?
Using the wallhack command in CS2 is not considered cheating when used in single-player practice sessions or private matches with friends. However, using it in public or ranked matches is strictly prohibited and can result in a ban. The command is designed for training purposes and improving gameplay, not for gaining unfair advantages in multiplayer scenarios.
What are the benefits of practicing with the wallhack command?
Practicing with the wallhack command in CS2 allows players to understand how enemies move, predict player layouts, and identify sightlines on the map. It can improve game sense and teach players positioning and awareness strategies. Since it lets you see through solid objects, it is a valuable tool for mastering map control and honing competitive skills efficiently.
If you are checking current asks before you trade, compare CS2 market guides on CSOffer me, then buy on Skin.Trade or sell from your inventory.