The HUD, or Heads-Up Display, in CS2 provides crucial game information, but there are times when players may prefer a clutter-free screen. Whether you’re capturing cinematic footage, focusing on gameplay, or simply exploring the game’s visuals, knowing how to hide HUD in CS2 can enhance your experience. In this guide, we’ll walk you through the various methods, from using console commands to third-party tools, and share tips for customizing your setup. By the end of this post, you’ll have a better understanding of how to control your HUD for a personalized gaming experience.
Understanding the HUD in CS2
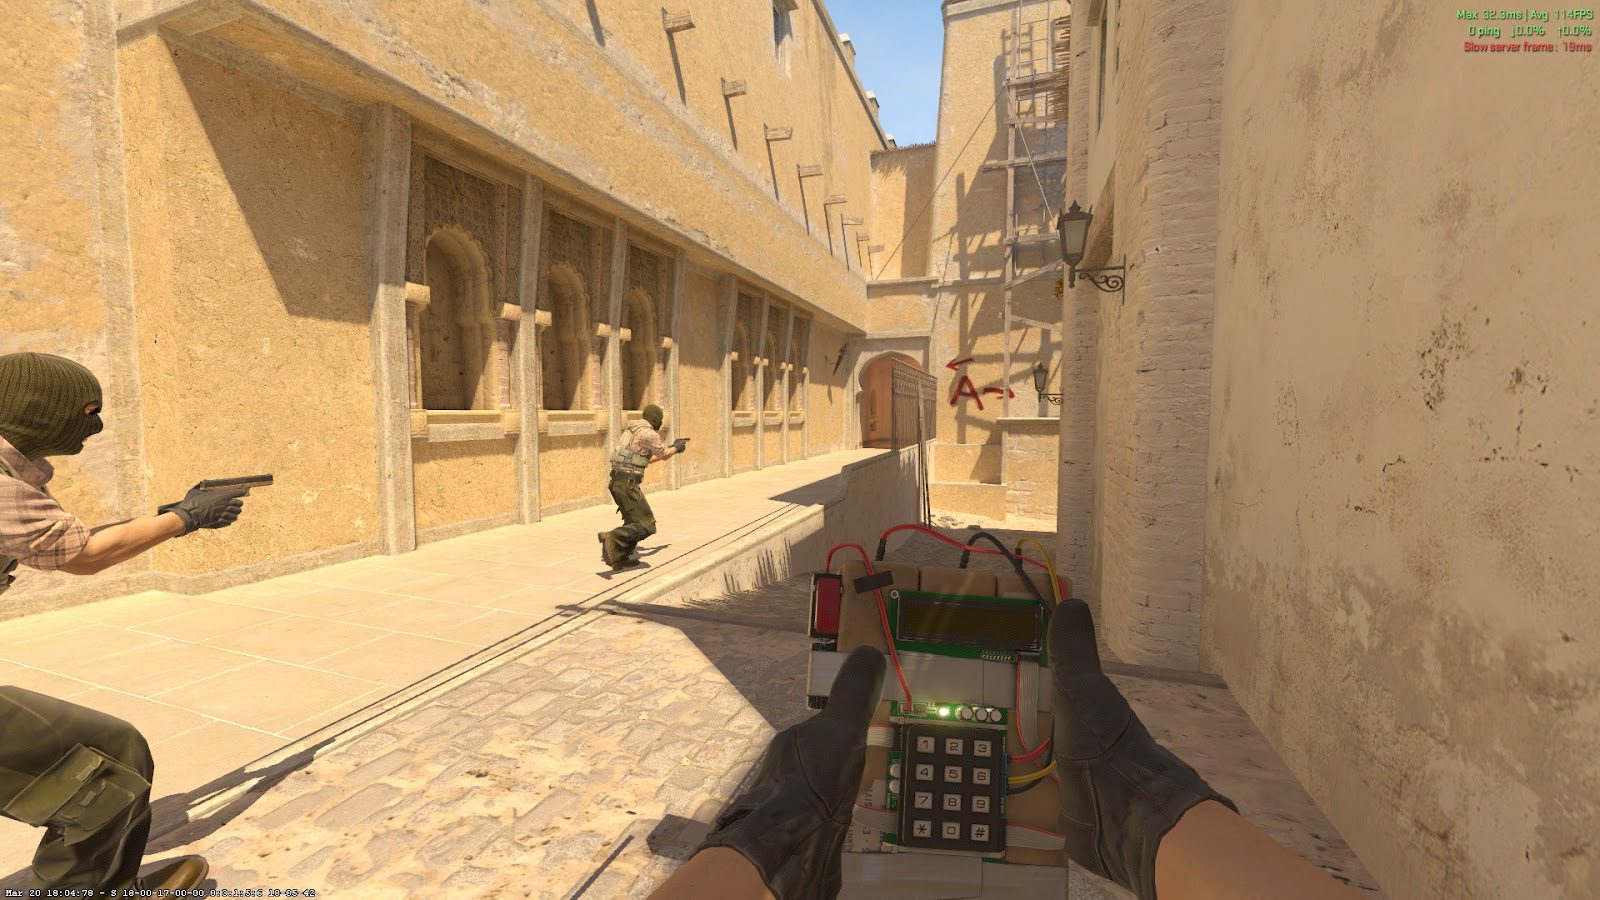
The HUD, or Heads-Up Display, in CS2 (Counter-Strike 2) is an essential feature designed to provide players with vital visual information during gameplay. It displays details such as your health, ammo, radar, and timer, ensuring you stay informed about your team’s status and current objectives.
However, while the HUD is useful, it may occasionally hinder specific gameplay scenarios or preferences. Competitive players, for instance, might choose to hide the HUD in CS2 to focus entirely on their surroundings or to record clean gameplay visuals.
Key components of the HUD in CS2 include:
- Health Bar: Indicates how much damage you can still endure.
- Ammo Count: Tracks available bullets or grenades.
- Radar Overview: Displays teammate locations and potential threats.
- Objective Information: Such as remaining time or bomb status.
Each element serves its purpose, but understanding how to toggle these components off can optimize your gaming experience where necessary. Whether for immersion, content creation, or practice purposes, hiding the HUD can be a useful customization tool.
Reasons to Hide the HUD in CS2
Hiding the HUD (Heads-Up Display) in CS2 can offer a range of benefits, depending on your gameplay needs or creative desires. Whether you’re capturing cinematic moments or aiming to enhance focus during specific challenges, removing the HUD can be an effective choice.
Here are some key reasons why you might want to hide HUD in CS2:
- Improved Immersion: By removing the on-screen elements, you can immerse yourself fully in the game’s environment without distractions.
- Cinematic Screenshots or Videos: Content creators often hide the HUD to capture clean visuals for thumbnails, wallpapers, or video projects.
- Enhanced Focus: Reducing visual clutter can help players concentrate on other critical aspects of the game, such as map awareness or enemy positions.
- Custom Gameplay Challenges: Experimenting with no-HUD gameplay can add a new level of difficulty and excitement.
Overall, whether for aesthetic purposes or gameplay improvement, knowing how to hide the HUD in CS2 allows you to tailor the game to your preferences.
How to Access the Console in CS2
Accessing the console in CS2 is the first step to successfully hide the HUD in CS2. The console is a powerful feature that provides players with the ability to customize and control various aspects of the game. Here’s a quick guide to help you access it easily:
- Enable the Developer Console:
- Open the game settings.
- Navigate to the “Game” tab.
- Look for “Enable Developer Console (~)” and toggle it to “Yes.”
- Open the Console:
- Once enabled, press the tilde (~) key (usually located beneath the “Esc” key on most keyboards).
- The console window will appear on your screen.
- Adjust Console Keybinding (Optional):
- You can change the key binding for opening the console by navigating to “Keyboard/Mouse Settings.”
- Assign a different key if the tilde key isn’t convenient for you.
By accessing the console, you unlock the ability to input commands like those needed to hide HUD in CS2, allowing for more personalized gameplay or precise screenshots.
Entering Commands to Hide the HUD
To hide HUD in CS2, you can utilize the game’s built-in console commands. The process is straightforward, making it easy to switch your HUD on or off as needed. Here’s how you can do it:
- Access the Console: Open the console in CS2 by enabling it in the settings and pressing the designated key ( by default).
~ - Input the Command: Type the command into the console and press Enter. This will instantly hide the HUD in CS2, providing an unobstructed screen for gameplay or screenshots.
cl_drawhud 0 - Verify the Result: Check if the HUD has disappeared. If successful, your screen should no longer show elements like the health bar, ammo count, or crosshair.
Bonus Tip: If you want to bring the HUD back, simply enter cl_drawhud 1 into the console.
This method is convenient and does not require downloading additional tools. It’s particularly useful for players who frequently toggle between a clean view and a standard display.
Using Third-Party Tools to Hide the HUD
If in-game options and console commands don’t fully meet your customization needs, third-party tools can help you hide HUD in CS2 more efficiently. These tools are designed to enhance gaming experience by offering additional features that cater to specific preferences.
Some third-party tools provide advanced customization, allowing players to disable elements like the HUD without manually typing commands. Here’s how they can benefit you:
- Ease of use: Most third-party software has intuitive interfaces, eliminating the need for in-depth technical knowledge.
- Enhanced functionality: You can hide, tweak, or alter HUD elements with just a few clicks.
- Compatibility: Many tools are made specifically for games like CS2, ensuring smooth integration.
However, before using such software, always ensure they are safe and approved by the gaming community. Unauthorized tools might lead to security risks or violations of gaming policies.
For simple HUD adjustments, in-game options might suffice. Yet, third-party tools can serve as a robust solution when seeking advanced ways to hide HUD in CS2. Always research thoroughly before downloading any external tools.
Tips for Customizing Your Gameplay Experience
Customizing gameplay in CS2 is a key factor in enhancing your experience and finding the perfect setup. If you prefer to hide HUD in CS2 for a cleaner screen, consider these tips to make your gameplay stand out:
- Experiment with the HUD commands: Beyond simply hiding the HUD, tweak commands that control individual HUD elements to find the balance you prefer.
- Adjust crosshair settings: After hiding the HUD, customize your crosshair for better visibility and accuracy.
- Work with custom keybinds: Create shortcuts for enabling/disabling the HUD to switch quickly during matches or recording sessions.
- Use practice sessions: Experiment without the HUD in offline or casual matches before jumping into competitive gameplay.
Additionally, keep in mind that hiding the HUD alters the display of vital information like your ammo count and health. Test different configurations to ensure you’re not sacrificing critical data during intense moments.
By tweaking and customizing settings, you can make “Hide HUD in CS2” adjustments part of a seamless gameplay experience tailored to your preferences.
Re-enabling the HUD When Needed
If you’ve previously chosen to hide the HUD in CS2 and now wish to bring it back, the process is both simple and effective. Re-enabling the HUD is crucial if you need access to essential in-game information like ammunition count, health status, or radar cues. Here’s how you can quickly restore your HUD settings.
To re-enable the HUD in CS2:
- Open the Console: Press the tilde (~) key to access the in-game console. If the console isn’t activated, ensure it’s enabled in the game’s settings.
- Input the Command: Type into the console and press Enter. This will instantly restore the HUD in your game.
cl_drawhud 1
If you used third-party tools or scripts to hide HUD in CS2, you may need to reverse those specific changes. Always ensure the tool you use includes clear instructions for reverting settings.
By re-enabling the HUD, you can seamlessly switch between immersive gameplay and tactical awareness based on your preferences. Keep this command in mind for flexibility during gameplay sessions!
Frequently Asked Questions
What is the HUD in CS2?
The HUD (Heads-Up Display) in Counter-Strike 2 refers to the interface elements on the screen, such as your health, ammo, teammates’ information, and more. It provides vital game information while you are playing.
Why would someone want to hide the HUD in CS2?
Players might want to hide the HUD in CS2 to capture clean screenshots, create cinematic videos, or simply enjoy the game without distractions for a more immersive experience.
How can I hide the HUD in CS2?
To hide the HUD in CS2, you can use console commands. Open the game’s console, type ‘cl_drawhud 0’, and press Enter to remove the HUD. To bring it back, use the command ‘cl_drawhud 1’.
Is it allowed to hide the HUD during gameplay?
Hiding the HUD is generally allowed in non-competitive modes or for creative purposes like recording videos. However, during active competitive matches, it is recommended to keep the HUD visible to access crucial information.
For a second look at cash market prices, open live CS2 skin prices on CSOffer me. Skin.Trade stays the place to buy CS2 skins or sell CS2 skins.